
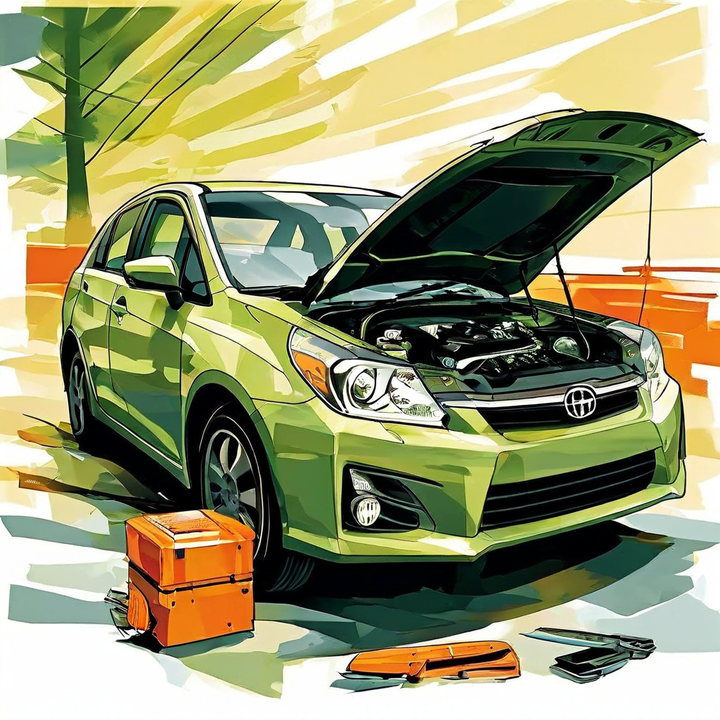
The check engine light is an important indicator in vehicles, including the Toyota Prius, that alerts the driver to potential issues with the engine or emission control systems. When this light illuminates, it can be concerning for owners, and resetting it becomes a priority. However, it's crucial to understand that resetting the check engine light without addressing the underlying problem can lead to further complications and potential damage to the vehicle.

Before we dive into the reset process, it's essential to understand the purpose of the check engine light. This little amber-colored indicator is your vehicle's way of communicating potential issues within its complex systems. It's like a digital messenger, alerting you to potential problems that require attention.
Over the years, I've encountered various reasons why the check engine light might illuminate on a Prius. Here are some of the most common culprits:
| Cause | Description |
|---|---|
| Loose or Faulty Gas Cap | Something as simple as a loose or damaged gas cap can trigger the check engine light. The fuel system is designed to be airtight, and any breach in that seal can cause the light to come on. |
| Faulty Oxygen Sensor | The oxygen sensors play a crucial role in monitoring the exhaust gases and ensuring proper combustion. If one of these sensors malfunctions, it can cause the check engine light to illuminate. |
| Catalytic Converter Issues | The catalytic converter is responsible for reducing harmful emissions from your vehicle's exhaust. If it becomes clogged or damaged, it can trigger the check engine light. |
| Mass Airflow Sensor Problems | The mass airflow sensor measures the amount of air entering the engine, allowing the computer to adjust the fuel mixture accordingly. A faulty sensor can cause the check engine light to turn on. |
| Spark Plug or Ignition System Issues | Worn-out spark plugs or problems with the ignition system can lead to misfires, which can trigger the check engine light. |
| Exhaust Leaks or Engine Misfires | Leaks in the exhaust system or engine misfires can also cause the check engine light to illuminate, as they can affect the overall performance and emissions of your vehicle. |
| Loose Electrical Connections | Loose or corroded electrical connections can interfere with the communication between various sensors and the vehicle's computer, resulting in the check engine light turning on. |
Now that we've covered some of the common causes, let's dive into the diagnosis process. Here are the steps I typically follow:
Locate the OBD-II Port: The first step is to locate the OBD-II (On-Board Diagnostics) port, which is usually found under the dashboard near the driver's side. This port allows me to connect a diagnostic scan tool to your vehicle's computer.
Read Diagnostic Trouble Codes: Using an OBD-II scan tool, I can read the diagnostic trouble codes (DTCs) stored in your vehicle's computer. These codes provide valuable information about the specific systems or components that may be causing the check engine light to illuminate.
Analyze Freeze Frame Data: In addition to the trouble codes, the scan tool can also provide freeze frame data, which captures the operating conditions of your vehicle at the time the code was set. This information can be invaluable in pinpointing the root cause of the issue.
Visual Inspection: Once I have the trouble codes and freeze frame data, I'll perform a visual inspection of the components related to the codes. This may involve checking for loose connections, damaged wires, or other visible signs of wear or damage.
Perform Specific Tests: Depending on the trouble codes and visual inspection results, I may need to perform additional tests to confirm the diagnosis. These tests can include:
Checking for exhaust leaks
Compression tests
Testing individual components like oxygen sensors or mass airflow sensors
After completing the diagnosis, it's time to address the root cause of the issue. Here are some common repair instructions I follow:
| Repair | Description |
|---|---|
| Loose Gas Cap | If the issue is a loose or faulty gas cap, the solution is simple – tighten or replace the gas cap. |
| Oxygen Sensor Replacement | If one or more oxygen sensors are faulty, they'll need to be replaced. This involves removing the old sensors and installing new ones, following the manufacturer's instructions. |
| Catalytic Converter Replacement | If the catalytic converter is clogged or damaged, it will need to be replaced. This is a more involved repair that may require removing exhaust components and potentially welding in a new catalytic converter. |
| Mass Airflow Sensor Cleaning or Replacement | Depending on the condition of the mass airflow sensor, it may need to be cleaned or replaced entirely. |
| Spark Plug or Ignition System Repairs | If the issue is related to the spark plugs or ignition system, I'll replace the faulty components, such as spark plugs, ignition coils, or wires. |
| Exhaust Leak Repairs | If there are exhaust leaks, I'll locate the source of the leak and repair or replace the damaged components, such as gaskets, exhaust pipes, or manifolds. |
| Electrical Connection Repairs | In cases where loose or corroded electrical connections are the culprit, I'll clean and tighten the connections or replace any damaged wiring or connectors. |
While repairs are sometimes necessary, there are steps you can take to help prevent the check engine light from illuminating in the first place:

Follow the recommended maintenance schedule
Use high-quality fuel
Avoid short trip driving
Address issues promptly
The cost of resetting the check engine light and addressing the underlying issue can vary significantly depending on the root cause. Simple fixes like tightening a loose gas cap are relatively inexpensive, while more complex repairs like replacing a catalytic converter can be quite costly.
As a general guideline, here are some approximate cost ranges:
| Repair | Cost Range |
|---|---|
| Oxygen Sensor Replacement | $200 - $400 |
| Catalytic Converter Replacement | $1,000 or more (including labor) |
| Mass Airflow Sensor Replacement | $200 - $500 |
| Spark Plug or Ignition System Repairs | $100 - $500 |
| Exhaust Leak Repairs | $200 - $800 (depending on the extent of the damage) |
Keep in mind that these costs can be lower if you choose to perform the repairs yourself, as you'll only need to pay for the parts. However, if you're not comfortable working on your vehicle, it's best to leave it to a professional mechanic to ensure the job is done correctly and safely.
Resetting the check engine light on your Prius may seem daunting, but with the right knowledge and approach, it's a manageable task. By understanding the common causes, following the proper diagnosis steps, and addressing the root cause through repairs or preventive maintenance, you can keep your Prius running smoothly and avoid costly breakdowns.
Remember, the check engine light is your vehicle's way of communicating with you, and ignoring it can lead to more significant problems down the road. Embrace it as an opportunity to stay on top of your Prius's maintenance and ensure a reliable and enjoyable driving experience.
If you ever find yourself in need of assistance or have any questions, don't hesitate to reach out to a professional mechanic. We're here to help you keep your Prius in top shape and ensure your peace of mind on the road.
The check engine light is an indicator that alerts you to potential issues within your vehicle's systems. It helps you identify and address problems before they escalate.
Yes, you can reset the check engine light yourself using an OBD-II scan tool or by disconnecting the battery. However, it's important to address the underlying issue to prevent the light from coming back on.
The OBD-II port is typically located under the dashboard near the driver's side. It's a small port with 16 pins that allows you to connect a diagnostic scan tool.
Diagnostic trouble codes (DTCs) are codes stored in your vehicle's computer that provide information about the specific systems or components causing the check engine light to illuminate.
Yes, a loose or faulty gas cap can trigger the check engine light. The fuel system is designed to be airtight, and any breach in that seal can cause the light to come on.
If your catalytic converter is clogged or damaged, it can trigger the check engine light. A professional mechanic can perform tests to determine if the catalytic converter needs to be replaced.
It's generally not recommended to continue driving with the check engine light on, as it can indicate a serious issue that could lead to further damage. It's best to have the problem diagnosed and addressed as soon as possible.
The recommended interval for replacing spark plugs varies depending on your vehicle's make and model. Consult your owner's manual or a professional mechanic for the recommended replacement schedule.
Yes, a faulty oxygen sensor can cause the check engine light to illuminate. The oxygen sensors play a crucial role in monitoring the exhaust gases and ensuring proper combustion.
If the check engine light is flashing, it indicates a severe issue that requires immediate attention. It's recommended to pull over and have your vehicle towed to a service center to prevent further damage.
Sarah isn't your average gearhead. With a double major in Mechanical Engineering and Automotive Technology, she dived straight into the world of car repair. After 15 years of turning wrenches at dealerships and independent shops, Sarah joined MICDOT to share her expertise and passion for making cars run like new. Her in-depth knowledge and knack for explaining complex issues in simple terms make her a valuable asset to our team.